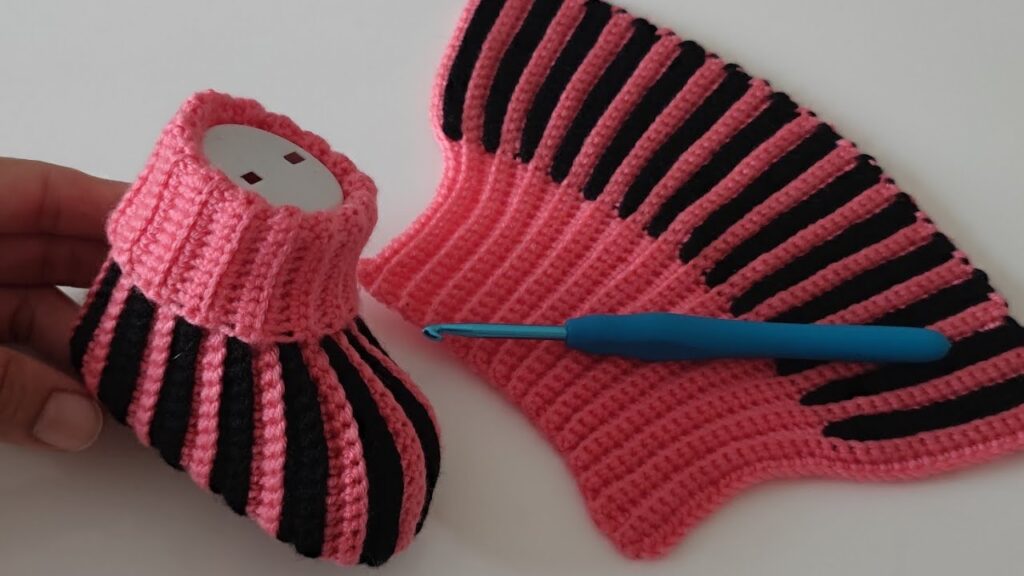
Perfect! 🧶✨ This is a striped crochet slipper bootie made from a flat panel that’s later folded and sewn together. Super easy for beginners because you don’t need to crochet in the round — just work back and forth, then shape!
Let’s go step by step 👇
🧶 Materials
- Yarn: 2 contrasting colors (here pink & black). Medium weight.
- Crochet hook: 3.5–4 mm (matching yarn).
- Scissors & yarn needle.
✨ Step 1: Make the Ribbed Cuff
- With main color (pink), chain 25–30 (this will be the sock height).
- Work single crochet in back loop only (BLO) across.
- Turn, repeat until you get a strip long enough to wrap around your ankle (about 28–32 rows).
👉 This makes a stretchy ribbed cuff.
Sew or slip stitch the short edges together to form a tube.
✨ Step 2: Start the Flat Panel (Slipper Body)
- From the cuff edge, attach yarn and chain 1.
- Work rows of single crochet or half double crochet (depending on thickness).
- For stripes: alternate 2 rows pink, 2 rows black (or adjust as you like).
👉 Shape the panel like in the photo: wider in the middle, narrower at the sides.
- To do this, increase 1 stitch at the beginning and end of rows until the panel curves outward.
✨ Step 3: Form the Toe
When the panel is long enough to cover from ankle to toe:
- Fold it in half lengthwise.
- Seam the edges together along the front (toe part) using slip stitch or whip stitch.
- Leave the cuff open, and sew tightly at the toe to close.
Now you have the slipper shape!
✨ Step 4: Finishing
- Weave in yarn ends.
- Optionally add a sole (felt, leather, or double crochet rounds) for durability.
- Make the second slipper the same way.
✅ Result: A comfy, stretchy, striped slipper bootie like in your picture!
Would you like me to make a row-by-row written pattern with stitch counts (so you can follow exactly for a standard adult size)?