That’s a beautiful and clever crochet project! 💙✨
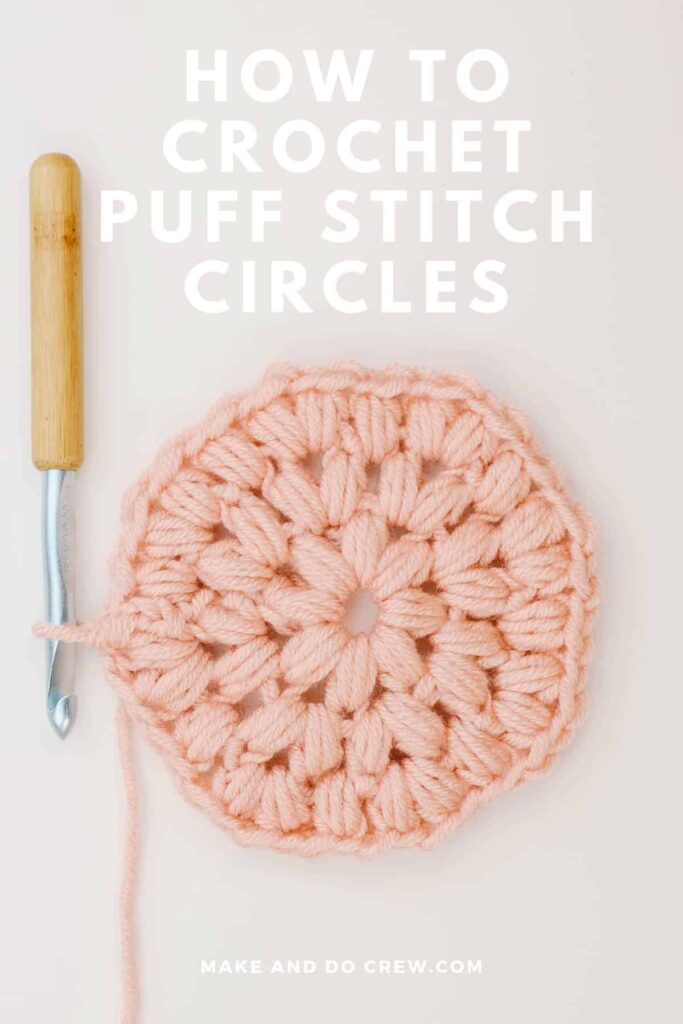
You’re looking at a crochet basket made using a CD as a base, wrapped with yarn and then worked upward in a puff stitch / cluster stitch pattern.
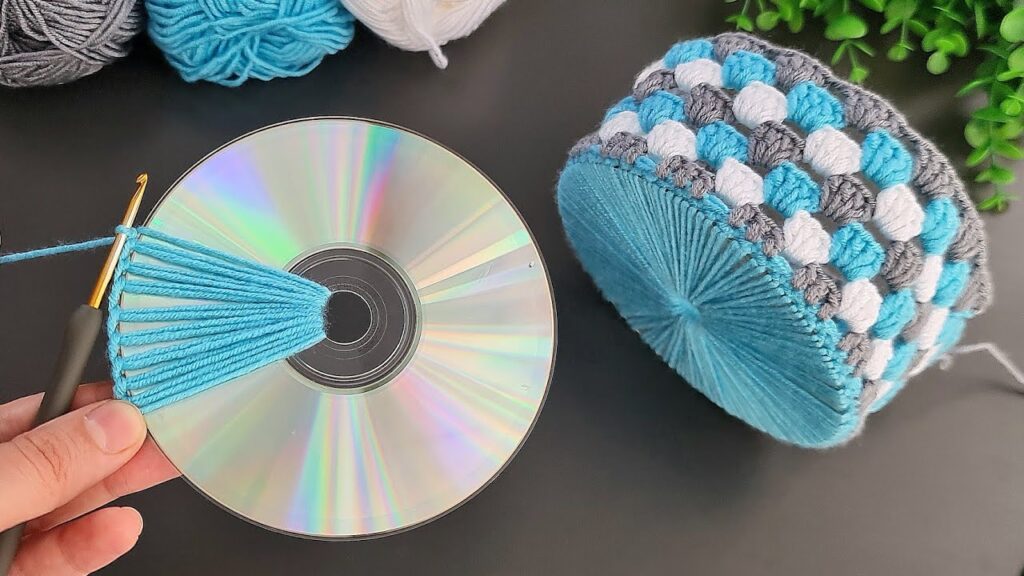
This technique is great for making pen holders, storage baskets, or decorative containers.
Here’s the step-by-step pattern to make the exact project shown in your photo 👇
🧶 MATERIALS
- 1 old CD or DVD (base)
- Yarn (3 colors — here: light blue, white, and gray)
- Crochet hook (2.5 – 3.0 mm depending on yarn)
- Awl or heated needle (optional for holes)
- Yarn needle, scissors
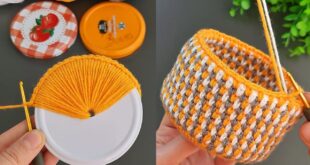
🪡 STEP 1: Wrapping the CD Base
- Insert hook through the center hole of the CD.
- Pull up the working yarn (blue color).
- Wrap the yarn over the outer edge and back through the center hole.
- Repeat evenly around the CD.
👉 These vertical wraps should sit snugly next to each other without gaps.
✅ Tip: Keep the tension consistent so the base looks neat like the photo.
🧵 STEP 2: Foundation Round
- When the base is fully wrapped, insert your hook between two wraps.
- Yarn over and pull up a loop, chain 1.
- Single crochet (sc) between each pair of vertical wraps around the CD.
- Join with a slip stitch to the first sc.
This locks the wrapped yarn in place and forms the foundation for the wall.
🌿 STEP 3: Side Wall — Puff Stitch Pattern
We’ll use 3 colors for the sides (Blue, White, Gray).
Round 1 – Puff Stitch (Blue)
- Chain 1.
- In the next stitch:
- Yarn over, insert hook, pull up a loop (do this 3 times in the same stitch).
- Yarn over and pull through all loops on hook.
- Chain 1 to close the puff.
- Skip 1 stitch, puff stitch in next.
- Repeat puff stitches all around.
- Join with sl st to top of first puff.
Round 2 – Puff Stitch (White)
- Join white yarn between two puff stitches from previous round.
- Work puff stitches in the spaces between puffs (not on top of them).
- Puff st, ch 1, skip puff, puff st in next space, repeat around.
- Join with sl st.
Round 3 – Puff Stitch (Gray)
- Repeat same as Round 2, but with gray yarn.
- Continue puff stitches in between previous puffs.
👉 Alternate colors (Blue, White, Gray) for the desired height of your basket.
🪄 STEP 4: Top Edge Finishing
- After the last puff stitch round, work 1 round of single crochet (in blue or your preferred color) to give a clean finish.
- Optional: Do a crab stitch (reverse single crochet) for a decorative edge.
- Fasten off and weave in all yarn ends.
📏 Stitch Summary
| Section | Stitch type | Yarn | Notes |
|---|---|---|---|
| Base | Yarn wrapping | Blue | Through CD center |
| Foundation | Single crochet | Blue | Between wraps |
| Side wall (1st round) | Puff stitch + ch 1 | Blue | In every 2nd stitch |
| Side wall (2nd round) | Puff stitch + ch 1 (in spaces) | White | Between previous puffs |
| Side wall (3rd round) | Puff stitch + ch 1 (in spaces) | Gray | Alternate as many rounds as desired |
| Top edge (optional) | SC / Crab stitch | Blue | Finishing |
🧠 Extra Tips
- If your puff stitches lean outward, tighten your chains between them.
- Use sturdy yarn or cotton for good structure.
- You can stiffen the sides slightly by inserting a thin plastic strip inside the last round before finishing if desired.
Would you like me to give you a diagram (symbol crochet chart) for this puff stitch pattern too? 📊✨