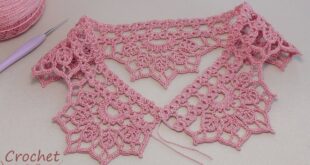
This crochet top is made using granny squares combined with granny stitch panels (clusters of 3 double crochets). Below is a full pattern guide so you can recreate it:
🧶 Materials:
- Cotton or acrylic yarn (medium/4)
- White (main color)
- Yellow, blue, green, pink, orange (accent colors)
- Crochet hook: 4.0 mm (G)
- Scissors and yarn needle
✨ Pattern Overview:
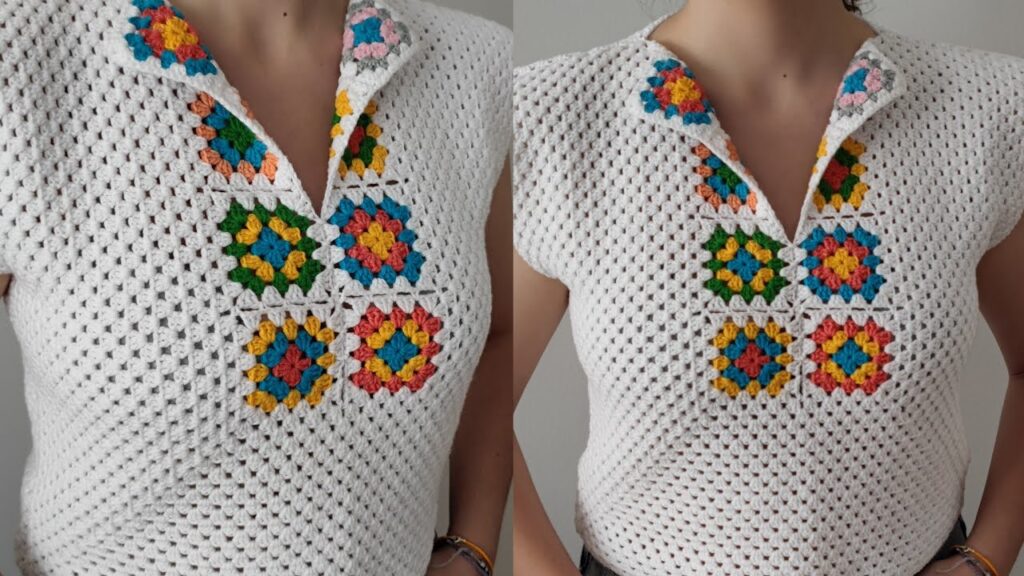
The top is constructed with:
- Six colorful granny squares at the neckline.
- White granny stitch panels built around them.
- V-neck shaping formed by joining the squares in a “V” layout.
- Collar made from partial granny rows.
🟩 Step 1: Crochet the Granny Squares
Make 6 squares using your chosen colors.
Round 1:
- Start with a magic ring (or ch 4, join with sl st).
- Ch 3 (counts as dc), 2 dc, ch 2, (3 dc, ch 2) × 3, join with sl st.
- (4 clusters total)
Round 2:
- Sl st to next ch-2 space.
- (3 dc, ch 2, 3 dc) in corner, ch 1 between corners.
- Repeat for all corners, join.
Round 3:
- (3 dc, ch 2, 3 dc) in corners, (3 dc, ch 1) along sides.
- Join and fasten off.
Color order (example from image):
- Round 1: Yellow
- Round 2: Blue
- Round 3: Pink/Green/Orange
- Round 4: White border (for joining)
🧩 Step 2: Join the Squares
- Arrange them in a “V” shape:
- 2 squares on top (forming the V neckline)
- 4 squares below them (2 rows of 2 squares).
- Join with white yarn using join-as-you-go method or slip stitch on the back.
🤍 Step 3: Make the Body
After the squares are joined:
- Work granny stitch rows (3 dc clusters) around the joined squares to extend the fabric.
- Continue evenly around until it reaches desired width (for your bust measurement).
- Work in rounds (no seams) or work flat for front and back panels, then sew sides later.
- Keep increasing under the arms slightly for a loose fit.
✂️ Step 4: Shoulder & Sleeve Edges
- Continue granny stitch pattern for a few more rows above the squares until shoulder height.
- Shape the shoulder by reducing one cluster per row to form a slight slope.
- For sleeves: leave armholes open or add one round of granny stitch for a neat edge.
💠 Step 5: Collar (Optional)
- Pick up stitches around neckline.
- Work 2–3 rows of granny stitch or single crochet rows to create the fold-over collar.
- Steam-block to help the collar sit nicely.
📏 Finishing:
- Sew sides if made in panels.
- Weave in ends.
- Lightly block the top to shape it neatly.
Would you like me to draw a diagram (chart) for the square layout and stitch placement (like a crochet pattern chart)?
That would make the “V-neck” construction clearer.