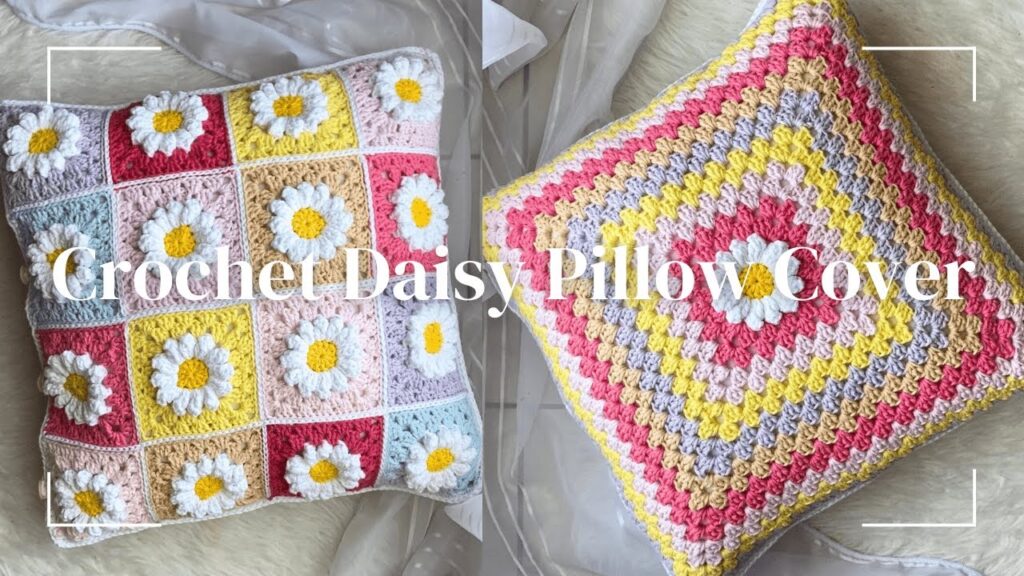
Crocheting a daisy pillow cover is a charming and satisfying project that combines floral motifs with practical home décor. Here’s a step-by-step guide for creating a crochet daisy pillow cover. This assumes basic crochet knowledge (chain, slip stitch, single, half-double, and double crochet). Let me know if you need a complete beginner guide!
🧶 Materials You’ll Need:
- Worsted weight yarn in:
- White (petals)
- Yellow (flower center)
- Green or a background color (optional)
- Crochet hook (usually 4.0mm – 5.0mm; check yarn label)
- Yarn needle
- Scissors
- Pillow insert (any size – commonly 16″x16″ or 18″x18″)
- Stitch markers (optional)
- Buttons or zipper (if making a removable cover)
🌼 Step 1: Crochet Daisy Motifs
Each daisy is a small circle with petals. You’ll crochet multiple to cover the front panel.
Center of the Flower (Yellow):
- Magic ring, ch 2 (counts as first dc).
- 11 dc into the ring. Join with sl st to top of ch 2. (12 dc total)
- Fasten off, weave in end.
Petals (White):
- Join white yarn in any stitch of the yellow center.
- Ch 4, dc in 3rd ch from hook, hdc in next ch, sl st in next stitch on the yellow center. Repeat from * to * around.
- You’ll get 6 petals. For more petals, increase stitch count accordingly.
- Fasten off and weave in ends.
Make enough daisies to cover your pillow front – e.g., 25 daisies for a 5×5 grid on a 16″x16″ pillow.

🧩 Step 2: Join the Motifs
Option 1: Join-as-you-go (JAYG)
- Crochet a square background around each flower (e.g., a 4″ granny square) and join them as you go using slip stitches or a flat braid join.
Option 2: Sew Together
- Arrange all your daisy motifs in a grid.
- Use a whip stitch or mattress stitch to seam them together.
- Add a border to square off the panel if needed.
🪡 Step 3: Crochet the Back Panel
Simple Options:
- Solid Panel: Crochet a square/rectangle to match the front size using sc, hdc, or a textured stitch.
- Envelope Style: Crochet two overlapping panels for an envelope-style cover.
- Granny Squares: Use matching or coordinating granny squares.
🧵 Step 4: Assembly
- Line up the front and back panels.
- Use sc or slip stitch around 3 edges to seam them together.
- Insert pillow form.
- Sew on buttons, add a zipper, or seam closed (if permanent).
🧼 Optional Finishing Touches:
- Block the squares or full panel for a crisp shape.
- Add a simple border like sc or shell stitch for a decorative edge.
🧺 Care:
- Hand wash or gentle machine wash (if yarn is washable).
- Dry flat to preserve shape.
Would you like a specific pattern with stitch counts and diagrams? I can create one tailored to your pillow size.
