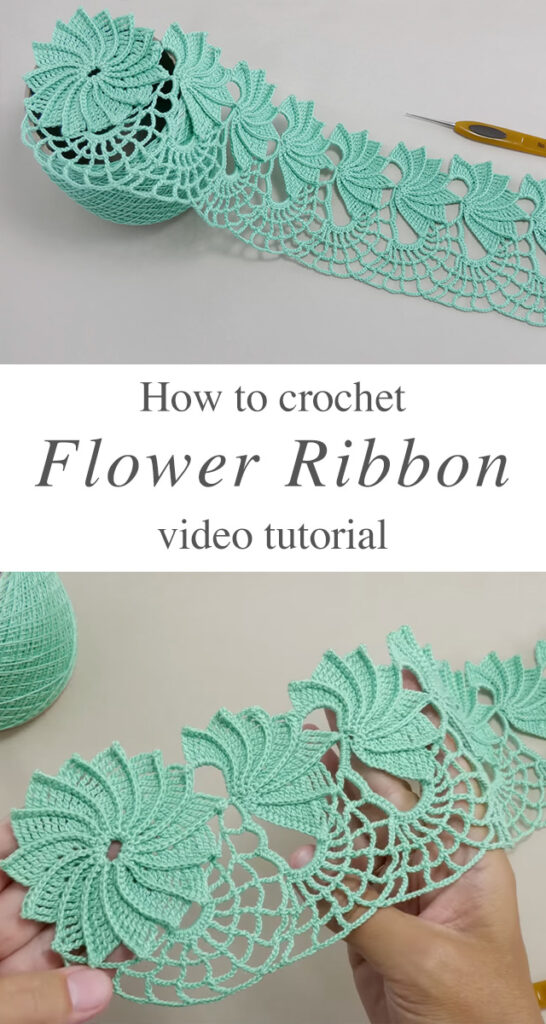
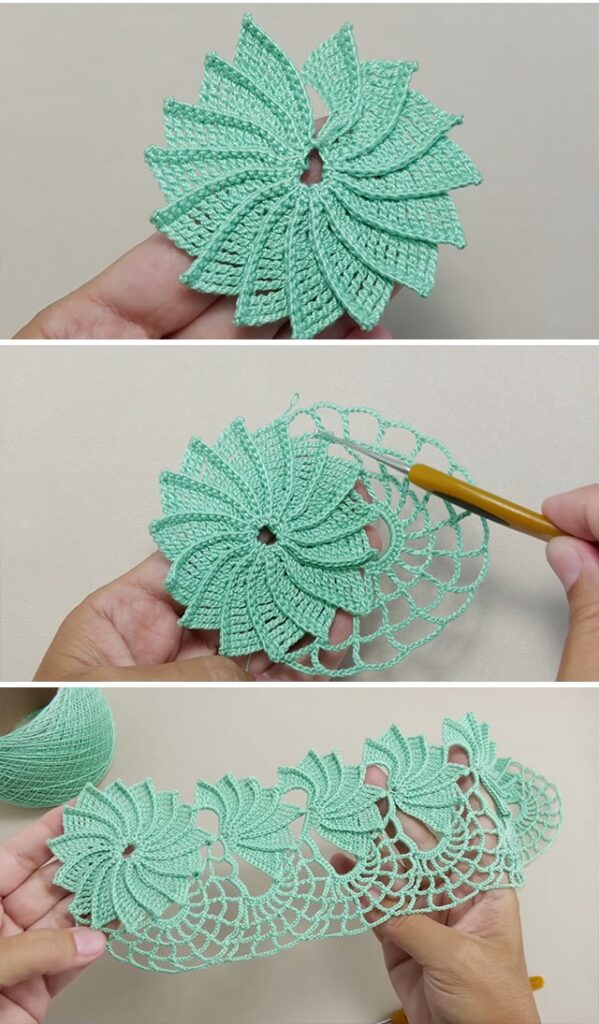
That sounds like a lovely project! Let’s walk through the steps to crochet a flower ribbon — a decorative strip adorned with small flowers. Here’s a basic approach:
🌸 Materials You’ll Need:
- Yarn (multiple colors for flowers, leaves, and ribbon if desired)
- Crochet hook (size that suits your yarn)
- Scissors
- Tapestry needle (for weaving ends)
✨ Step 1: Start the Ribbon Base
- Make a foundation chain — decide how long you want the ribbon to be. For example, chain 100-150 stitches for a headband or belt.
- Row 1: Single crochet (SC) into the second chain from the hook and each chain across.
- Row 2: Chain 1, turn. Continue with SC or a decorative stitch (e.g., half double crochet) for a second row to make the ribbon sturdy.
🌼 Step 2: Crochet the Flowers
- Start with a magic ring (or chain 4 and slip stitch to form a ring).
- Round 1: Chain 1, make 5-6 SC into the ring. Slip stitch to join.
- Round 2: (Chain 3, double crochet (DC) into the same stitch, chain 3, slip stitch into the next stitch) — repeat for each petal (5-6 petals).
- Fasten off and leave a tail for sewing.
🍃 Step 3: Add Leaves (Optional)
- Chain 8 (for a small leaf).
- Single crochet in the second chain, half double crochet in the next, double crochet in the middle, then reverse the order back down. Slip stitch at the end.
- Fasten off.
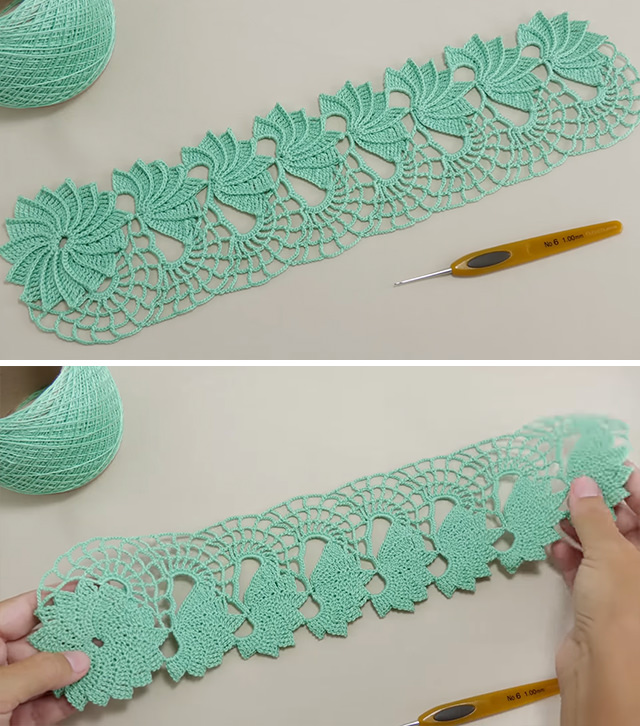
🧵 Step 4: Assemble the Flower Ribbon
- Sew the flowers onto the ribbon at even intervals.
- Attach leaves around the flowers for a more realistic look.
- Weave in ends neatly using a tapestry needle.
🎀 Optional Embellishments:
- Add beads or buttons to the flower centers.
- Use different flower patterns for variety.
- Make the ribbon longer and tie it into a bow.
Would you like a visual pattern or a diagram to go along with this? Or maybe a specific flower style (like roses or daisies)? I can break that down too! 🌸✨