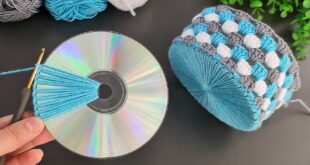
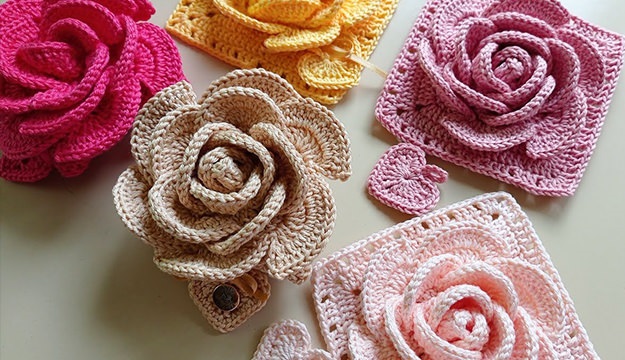
Crocheting a 3D rose flower is a beautiful project, great for beginners and experienced crocheters alike. Here’s a step-by-step guide to help you create one.
✨ Materials Needed:
- Yarn (red, pink, or any preferred color for petals, and green for leaves)
- Crochet hook (size appropriate for your yarn)
- Scissors
- Yarn needle
🌹 Step-by-Step Instructions:
1️⃣ Start with a Foundation Chain
- Chain 50 (or any multiple of 5 for a fuller rose).
2️⃣ Row 1 – Create the Petal Base
- Work 1 double crochet (DC) into the 5th chain from the hook.
- Skip 1 chain, then (DC, chain 1, DC) in the next chain.
- Repeat this pattern across the row.
- Turn your work.
3️⃣ Row 2 – Forming the Petals
- In each chain-1 space, make:
- (Single crochet, half double crochet, 3 double crochets, half double crochet, single crochet)
- This creates a petal in each space across.
- Finish off and leave a long tail for sewing.
4️⃣ Roll the Rose
- Start rolling from one end, forming the rose shape.
- Use the long yarn tail and a needle to stitch the base together securely.
5️⃣ Adding Leaves (Optional)
- Chain 10.
- Work back along the chain: (SC, HDC, DC, 2 DC, DC, HDC, SC).
- Fasten off and attach to the rose.

Tips for Success:
✅ Use a smaller hook for tighter stitches.
✅ Experiment with different yarn colors for unique roses.
✅ Add a stem by wrapping floral wire with green yarn.
Would you like a video tutorial recommendation or a different crochet pattern? 😊