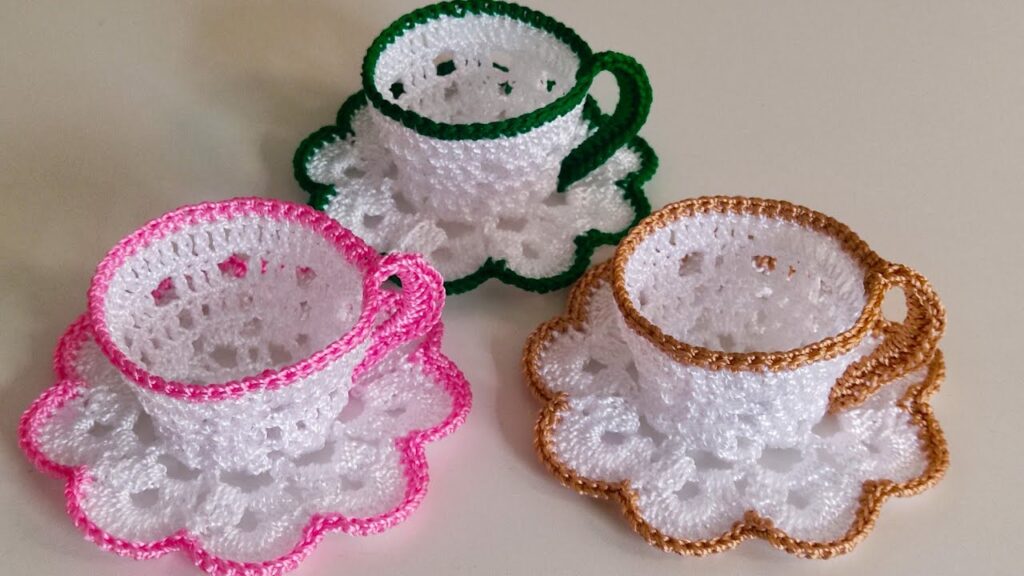
That sounds like a cozy and creative project! Let’s walk through it step by step. Here’s a beginner-friendly guide to crocheting a decorative teacup:
✨ Materials You’ll Need
- Yarn — Cotton or acrylic works well (choose colors for the cup, saucer, and tea).
- Crochet hook — Size suitable for your yarn (usually 3.5mm – 4.5mm for worsted weight).
- Stitch marker — To keep track of rounds.
- Stuffing — For shaping the cup.
- Yarn needle — For sewing pieces together.
- Scissors
🧶 Stitches You’ll Use
- Magic ring (MR)
- Single crochet (sc)
- Increase (inc) — 2 sc in one stitch
- Decrease (dec) — Sc two stitches together
- Slip stitch (sl st)
- Chain (ch)
☕ Step-by-Step Pattern
1. Crochet the Cup Base
- Start with a magic ring (MR), 6 sc into the ring.
- Round 2: Inc in each stitch around (12 stitches).
- Round 3: (1 sc, inc) repeat around (18 stitches).
- Round 4: (2 sc, inc) repeat around (24 stitches).
- Round 5: (3 sc, inc) repeat around (30 stitches).
- Rounds 6-10: Sc around (30 stitches).
This forms the cup’s cylindrical shape.
2. Crochet the Cup Rim
- Round 11: Work in back loops only (BLO) for this round — sc around (30 stitches).
- Round 12: Sc around normally.
- Slip stitch and fasten off.
3. Crochet the Saucer
- Magic ring, 6 sc into the ring.
- Round 2: Inc in each stitch around (12 stitches).
- Round 3: (1 sc, inc) repeat around (18 stitches).
- Round 4: (2 sc, inc) repeat around (24 stitches).
- Round 5: (3 sc, inc) repeat around (30 stitches).
- Round 6: (4 sc, inc) repeat around (36 stitches).
Slip stitch, fasten off, and weave in ends.
4. Make the Handle
- Chain 12.
- Sc back along the chain (11 stitches).
- Fasten off, leaving a tail for sewing.
5. Crochet the “Tea” (Optional)
For a realistic tea look:
- Magic ring, 6 sc into the ring.
- Increase around to make a flat circle that fits the cup’s top (about 24-30 stitches).
- Use brown or beige yarn for a “tea” effect.
6. Assemble Your Cup
- Stuff the cup firmly and sew the “tea” on top if desired.
- Sew the handle onto the side of the cup.
- Attach the cup to the saucer securely.
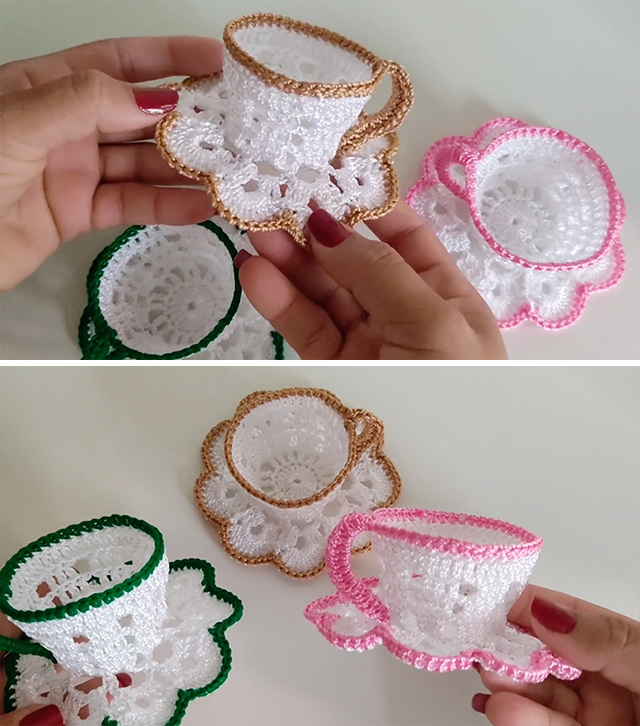
🌟 Optional Embellishments
- Add flowers or embroidery to the cup for a dainty look.
- Edge the rim with a contrasting color for a more vintage feel.
- Crochet a teaspoon or a sugar cube for extra charm.
Would you like me to write this as a more detailed, printable pattern — or maybe even sketch out a diagram? I can also suggest color combos or variations, like a cappuccino cup or floral teacup style! 🌸🍵✨