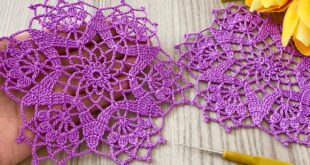
Crocheting a flower granny square is a fun and decorative way to add a floral touch to blankets, bags, or other projects. Below is a step-by-step beginner-friendly pattern to crochet a basic flower granny square.
🌸 Materials Needed:
- Worsted weight yarn in 2–3 colors (one for the flower center, one for petals, one for the square)
- 4.0 mm (G) or 5.0 mm (H) crochet hook
- Scissors
- Yarn needle
🌼 Abbreviations (US terms):
- ch – chain
- sl st – slip stitch
- sc – single crochet
- dc – double crochet
- tr – treble crochet
- sp – space
- st(s) – stitch(es)
🔹 Step-by-Step Pattern:
🌟 Round 1: Flower Center
- With color A (center), ch 4, join with a sl st to form a ring.
- Ch 3 (counts as 1 dc), then make 11 dc into the ring.
- Join with a sl st to top of ch-3. (12 dc total)
🌺 Round 2: Flower Petals
- Change to color B (petals).
- Ch 2, in the same stitch: (1 dc, 1 tr, 1 dc).
- Sl st in next stitch.
- Repeat from step 2 around to create 6 petals total.
- Join with sl st to first ch-2. Fasten off.
You now have a small flower!
🟩 Round 3: Forming the Square
- Join color C (background) in space between petals.
- (Ch 3, 2 dc, ch 2, 3 dc) in same space – this is your first corner.
- In next space: 3 dc.
- In next space: (3 dc, ch 2, 3 dc) – another corner.
- Continue around: alternating 3 dc in side spaces and (3 dc, ch 2, 3 dc) in corners.
- Sl st to top of beginning ch-3 to join.
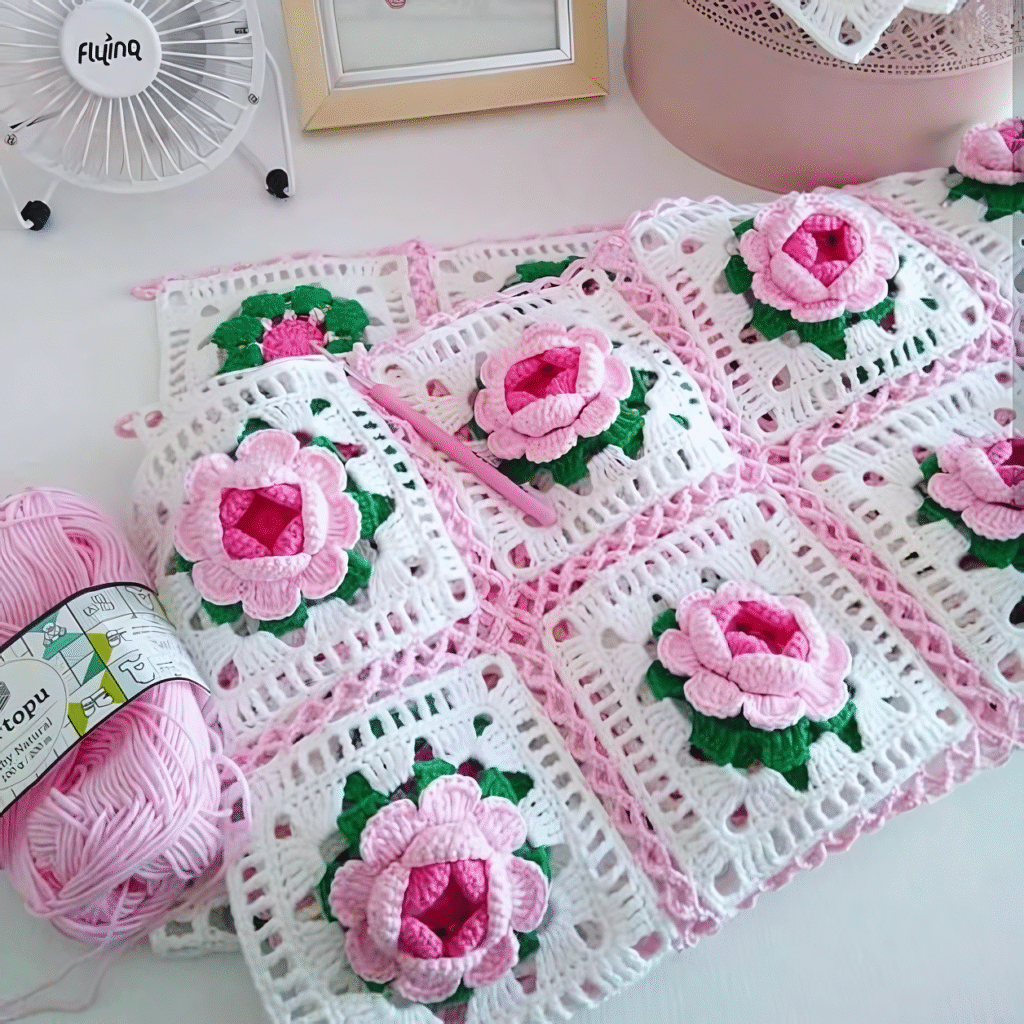
You now have a granny square with a flower in the middle!
🔄 Optional: Additional Rounds
- Add more rounds in the same granny square style to increase the size.
- Always place (3 dc, ch 2, 3 dc) in each corner space, and 3 dc in each side space.
🧵 Final Tips:
- Block your square for best shape.
- Mix colors for different floral looks.
- Great for joining multiple squares into blankets, bags, or wall hangings.
Would you like a diagram/chart, video tutorial, or a variation (like 8-petal flower or puff stitch petals)? Let me know!