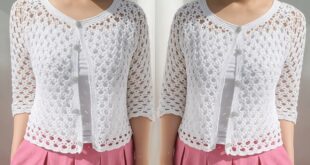
Let’s make a crochet square blouse! Here’s a step-by-step guide to get you started:

🎯 Materials Needed:
- Yarn of your choice (cotton or acrylic works great for blouses)
- Crochet hook (size appropriate for your yarn)
- Scissors
- Stitch markers (optional)
- Tapestry needle (for weaving in ends)
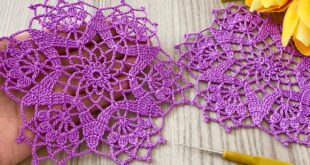
🧶 Step 1: Choose a Stitch Pattern
For a light, airy look, try:
- Basic granny square
- Mesh stitch
- Shell stitch
🛠️ Step 2: Make Two Large Squares
- Start with a foundation chain:
Chain a length that matches half of your bust measurement (e.g., if your bust is 36″, chain enough for an 18″ square). - Work rows or rounds:
- If using a granny square pattern, work in the round.
- For rows, turn your work at the end of each row and continue until you have a square.
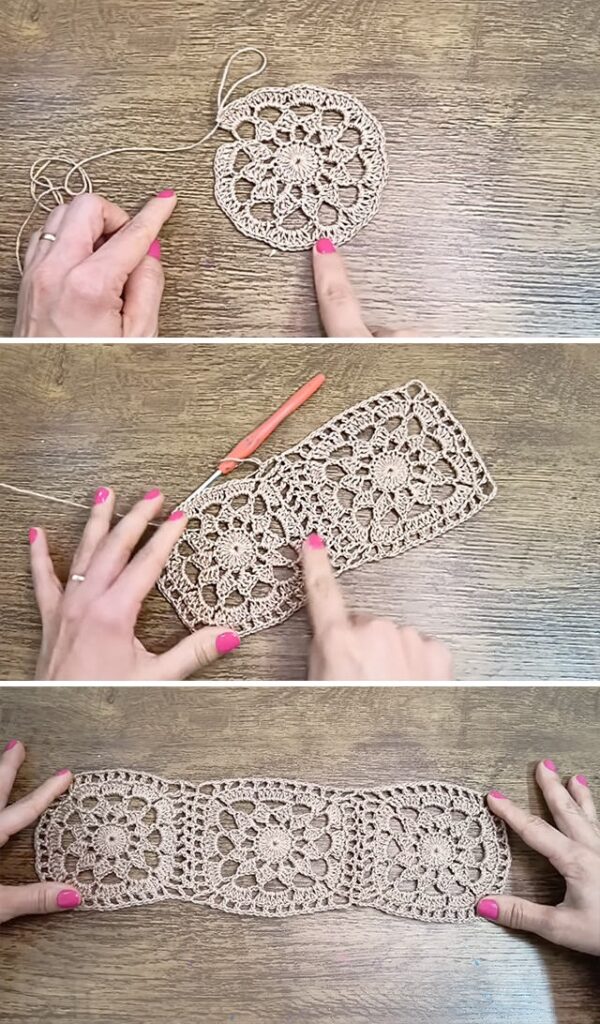
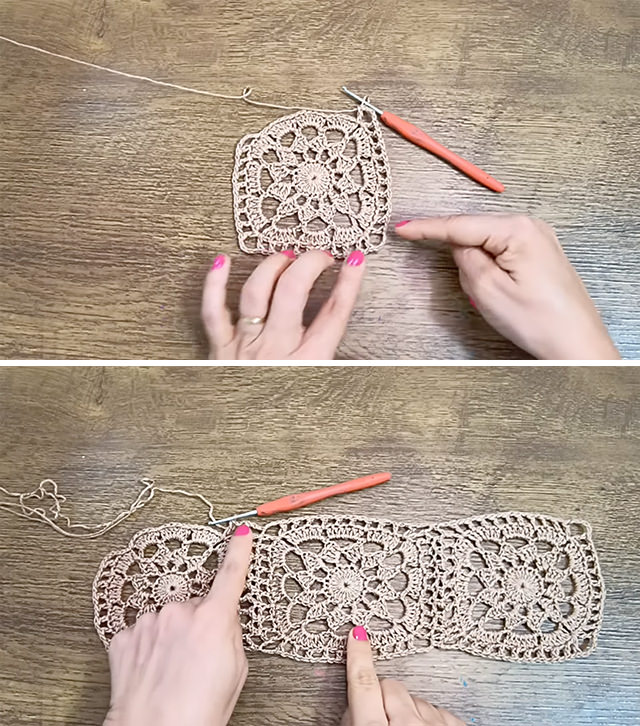
🔗 Step 3: Assemble the Blouse
- Join the squares at the shoulders:
- Leave a gap for the neckline (about 6-8 inches).
- Use a slip stitch or whip stitch to seam the top edges.
- Seam the sides:
- Leave room for armholes (about 7-9 inches).
- Seam from the bottom edge up to the armhole.
✨ Step 4: Finishing Touches
- Add sleeves (optional): Crochet smaller rectangles or rounds and attach.
- Edging: Add a decorative border around the neckline, sleeves, and bottom for a polished look.
- Weave in ends for a clean finish.
Would you like me to write a detailed pattern for a specific stitch or style — like a lacy summer blouse or a cozy oversized one? I can even help with stitch diagrams if you’re a visual learner! 🌟✨